
The most common request after the publication of the first edition of A Saga on Home Video back in 2017 was that if there was ever a new edition, it should have color images, even if it raised the printing (and retail) costs. This was such a common request that I took it to heart, and now that work is ongoing for the second edition, nearly all pictures in the book are being replaced by new color images (not just color versions of the original images). I say “nearly all” because there are a few items no longer in my collection or that are too large for my current photo setup, so I’ll be using the color originals from the first edition to include them, but that is only about 10 or less images in the entire book.
For those wondering how the photo process works for ASOHV, I thought I’d share that process here. It’s not glamorous. In fact, it’s rather tedious. It works, though, which is what matters.
For the first edition, pictures were typically taken with the items lying flat on an off-white tabletop. Here’s an example of a raw image from the first edition:

I would then just crop that image and convert it to grayscale for use in the book, like so:

Since they were grayscale, that was a fine setup. However, with images now being in color, I needed a better setup to capture those pictures. I picked up a travel photobox via Amazon that I now use for all pictures. Such a box has a built-in light, a white interior surface, and openings on the front and top to allow taking pictures with mostly even lighting.
Step 1: Setup
The first step in the process is for me to clear away all the toddler toys all over the floor in my office (AKA my Star Wars collection room) to set up the photobox against the wall, between a pair of bookshelves (protected from toddler snatching by project boards and storage tubs), underneath a window that has its curtains closed. (This isn’t so much about keeping out excess light as it is for heat. My office gets hot very quickly, and that process is only accelerated by having the photobox turned on.) So, the rather non-galmorous photographing setup looks like this most of the time:

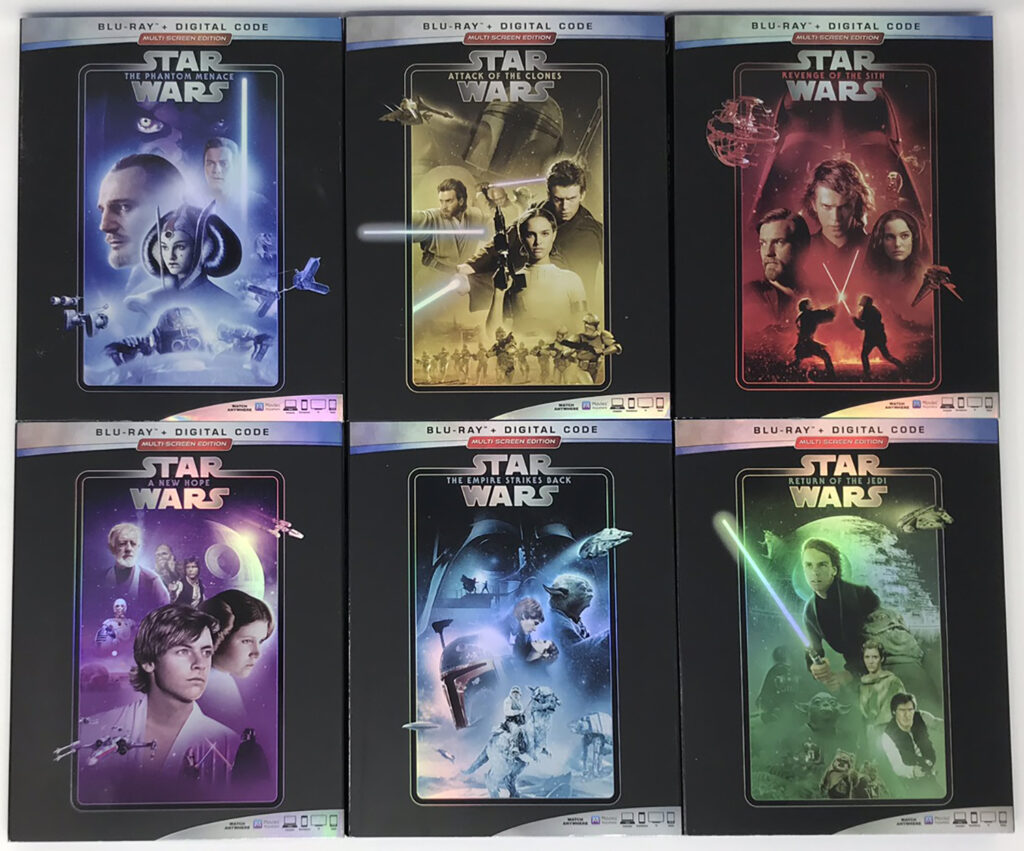
Step 2: Raw Pictures
The second step is then to actually take the pictures. If an item isn’t overly reflective, I will typically take the picutre with the image lying flat on the bottom of the photobox, using an opening in the top to snap the image. This usually requires shifting the items a bit toward the back and right side of the photobox to make sure the overhead, built-in light doesn’t reflect on the product. This is an example of one such raw photo, showing the Sept. 2019 Multi-screen Edition reissues of Episodes I – VI. (Yes, this is a new product for the second edition, since it was released over two years after the first edition’s publication.)

Step 3: Digital Alteration
After a few minutes, the images that are captured with my iPhone synchronize to iCloud, so that I can download them onto my PC. At that point, I open them in Adobe Photoshop for a series of quick corrections. First, most need a slight rotation adjustment, which I do in 0.15 or 0.25 degree increments. Second, I crop the image so that the entire product is shown with as little of the background as possible (though I’m not terribly picky, since the background looks fine in print). Lastly, I update the image size to 300 pixels per inch and a maximum dimension of 5 in. (length or width, whichever is greater). This has actually decreased the file size of the images in the book, even though they are in color, since I had not resized the original images from the first edition in Photoshop before inserting and resizing in Microsoft Word. The finished image will come out like this:
Step 4: Inserting Images Into the Book
Finally, I need to actually insert the image into the working file of A Saga on Home Video, 2nd Ed. in Microsoft Word. To do this, I create a new table in the document. In this case, that table would be one column with two rows, since I would just have this image centered on the page with a caption beneath it. (Other pictures require more rows or columns, depending on how I am arranging the images.) I then insert the picture, centered in the top cell of the table. In the bottom row, I insert a caption with the main body font (Garamond) scaled down from the regular 11 point body font size to 10 point. Once that looks right, I remove all borders from the table. The end result is a page that looks something like this:

Now, imagine going through that process for what is currently over 750 pictures (and counting) due to sometimes needing to retake pictures or take more than one shot of the same product to see which looks best. As I said, it’s not at all glamorous, but this tedious work makes the whole of the second edition look leaps and bounds better than its first edition predecessor. To me, that makes it worthwhile.
I hope you’ve enjoyed this brief look into the development of A Saga on Home Video‘s second edition. There’s more to come as work continues.
This is an an interesting addition to the narrative, Nathan. I truly did wonder how the pictures were taken. I had seen you post about the pixture box before but didn’t know how it was used. Can you include a picture of you taking a picture with the box?
I’m not sure if I’ll be able to wrangle that, since it depends on who is watching our son, but if I can drag my wife away for a moment (perhaps if grandpa is watching him), I’ll see what I can do. It’s not a pleasant sight watching my 40-year-old self contorting flat to the floor to take a picture in the confined space of my office.